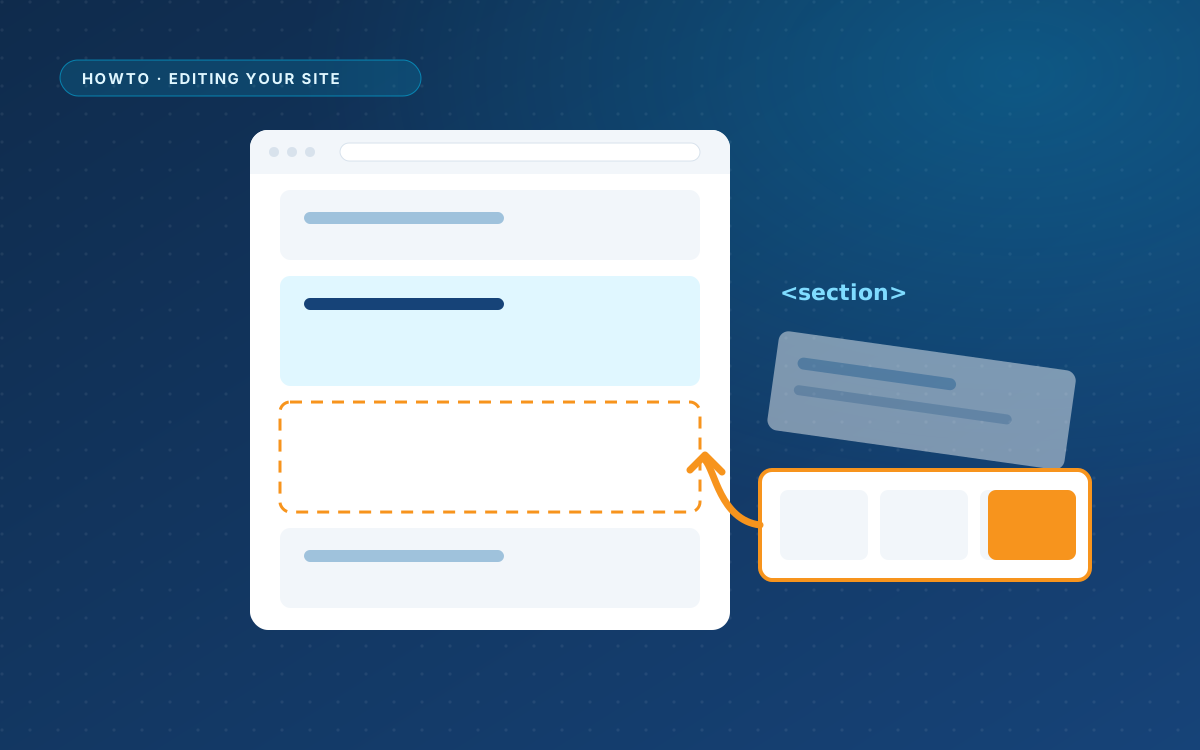
Replace a section in the HTML
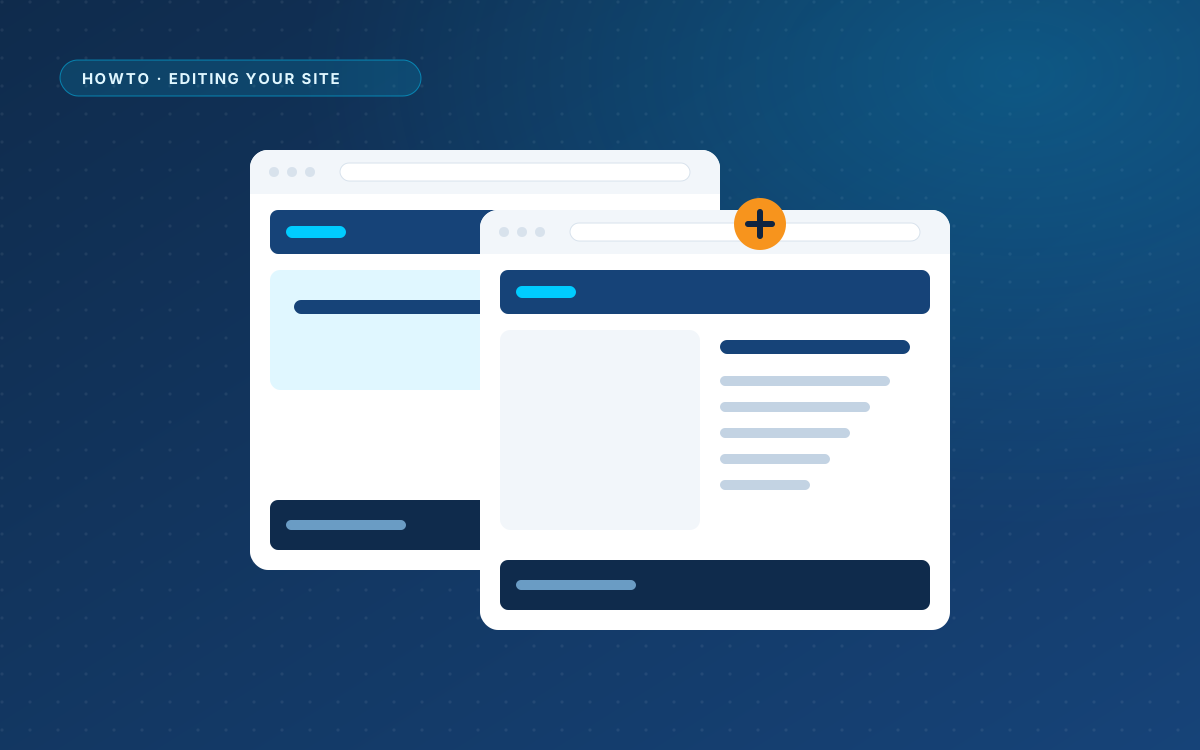
Swap one part of a page, such as the pricing table, for a new version from your AI, without touching the rest of the…

Step-by-step guides for building and running a WordPress site with WPPasteKit.
Swap one part of a page, such as the pricing table, for a new version from your AI, without touching the rest of the…
Your header, footer and styling are shared. A second page only needs its own content, and one line in the menu.
Give your client the Editor role. They change texts and images; the code and the styling stay out of reach.
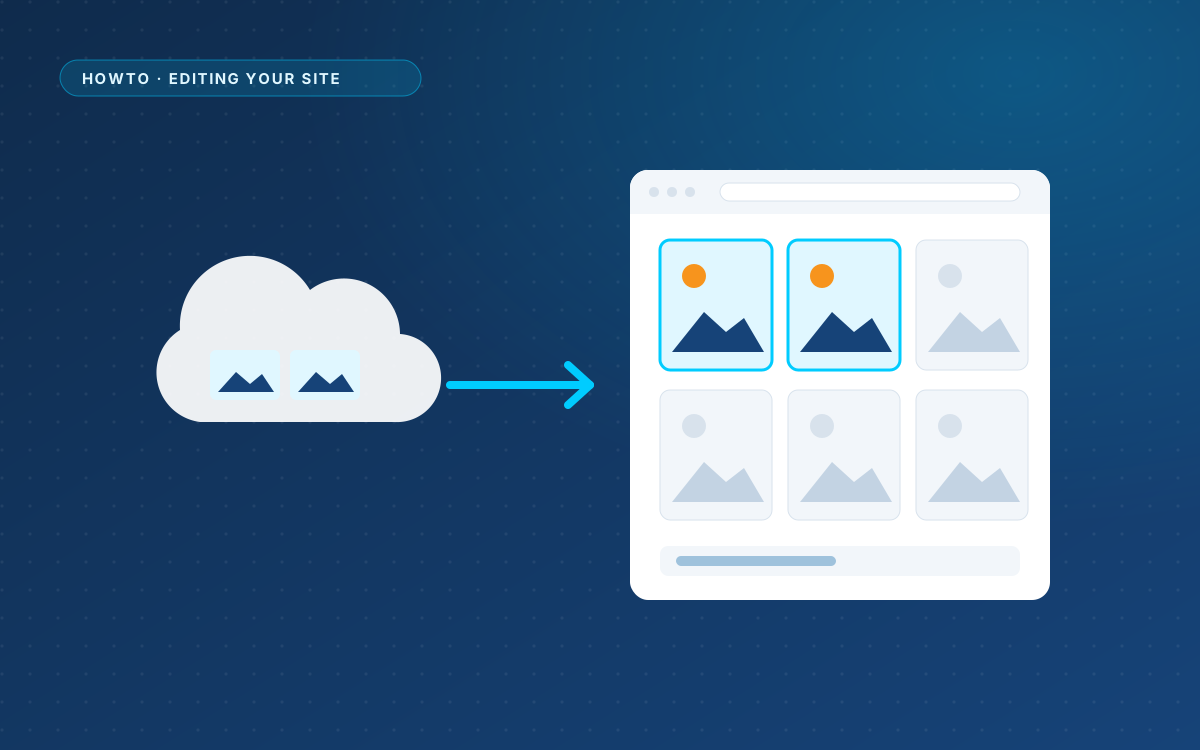
AI designs point at Unsplash, Picsum or placehold.co. Import those images with one click and replace them with your own.
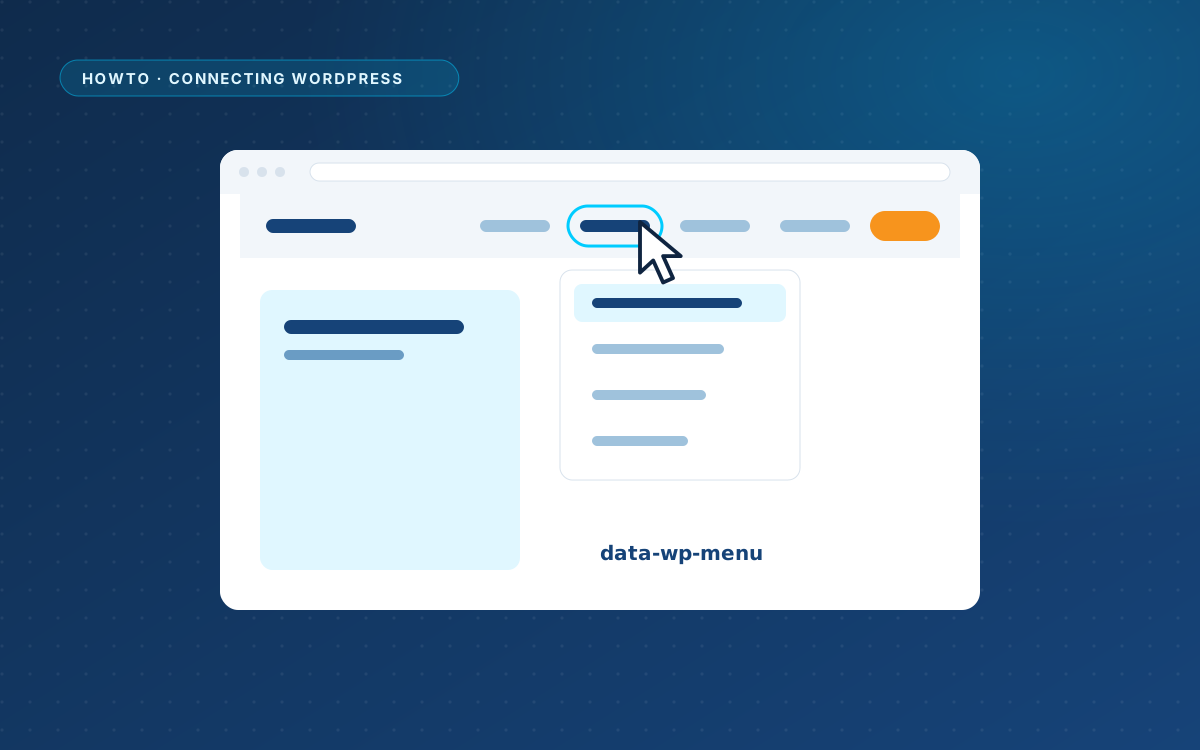
Mark the menu list in your design, and WordPress fills it with real menu items while keeping the markup and classes of the design.
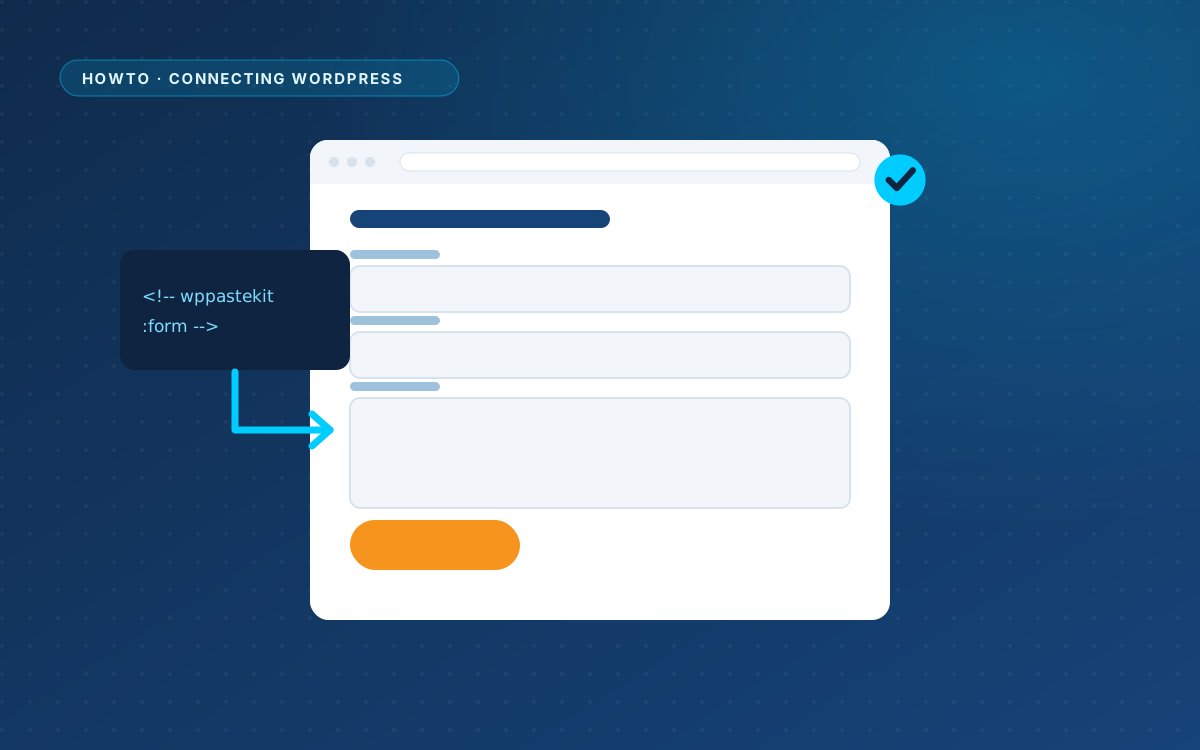
Leave a placeholder in the design, and WPPasteKit puts a real Gravity Forms, Contact Form 7, WPForms, Forminator or Fluent Forms form there.
Phone number, email address, logo and year: write them once in Site details and use a variable everywhere else.
Mark a card grid in your design, and WordPress repeats the first card for every post, with image, title, excerpt, date and category.
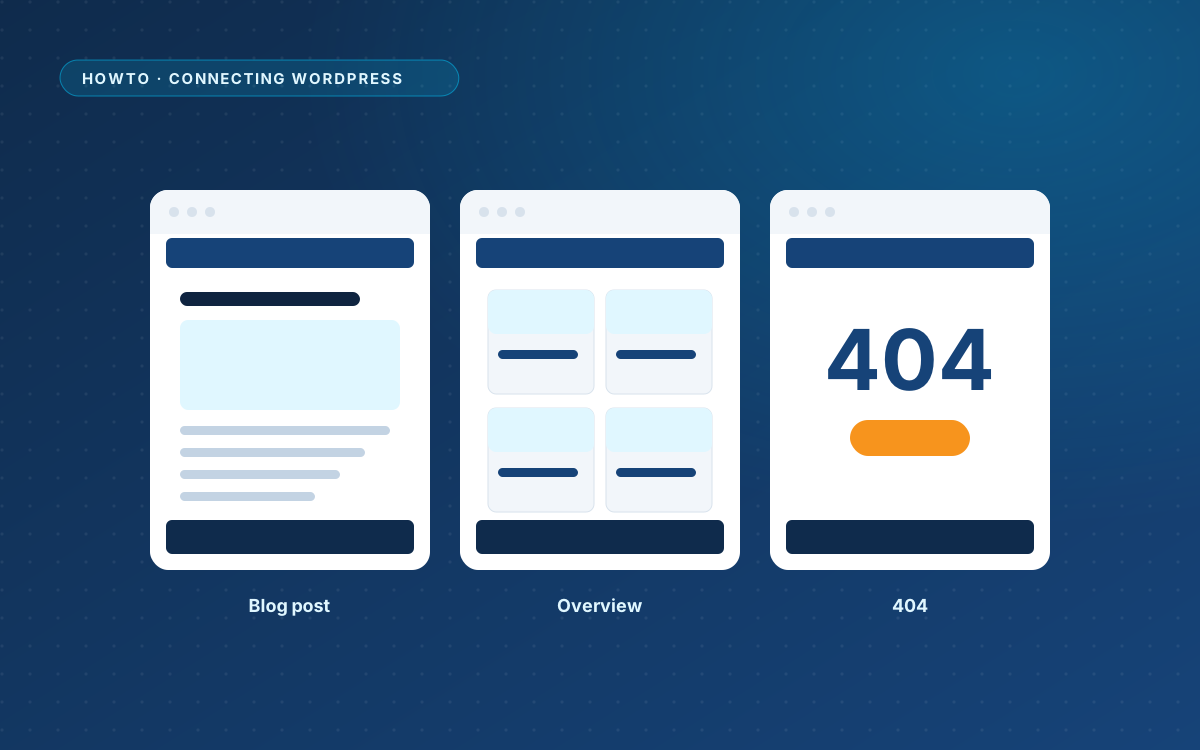
Create a layout for the blog overview, a single post, normal pages and the 404 page, and WPPasteKit renders those views in your design.
Upload the plugin, enter the details every page shares, and start your first WPPasteKit page.
WPPasteKit works with any theme. Here is when the optional blank theme makes sense, and how to install it.
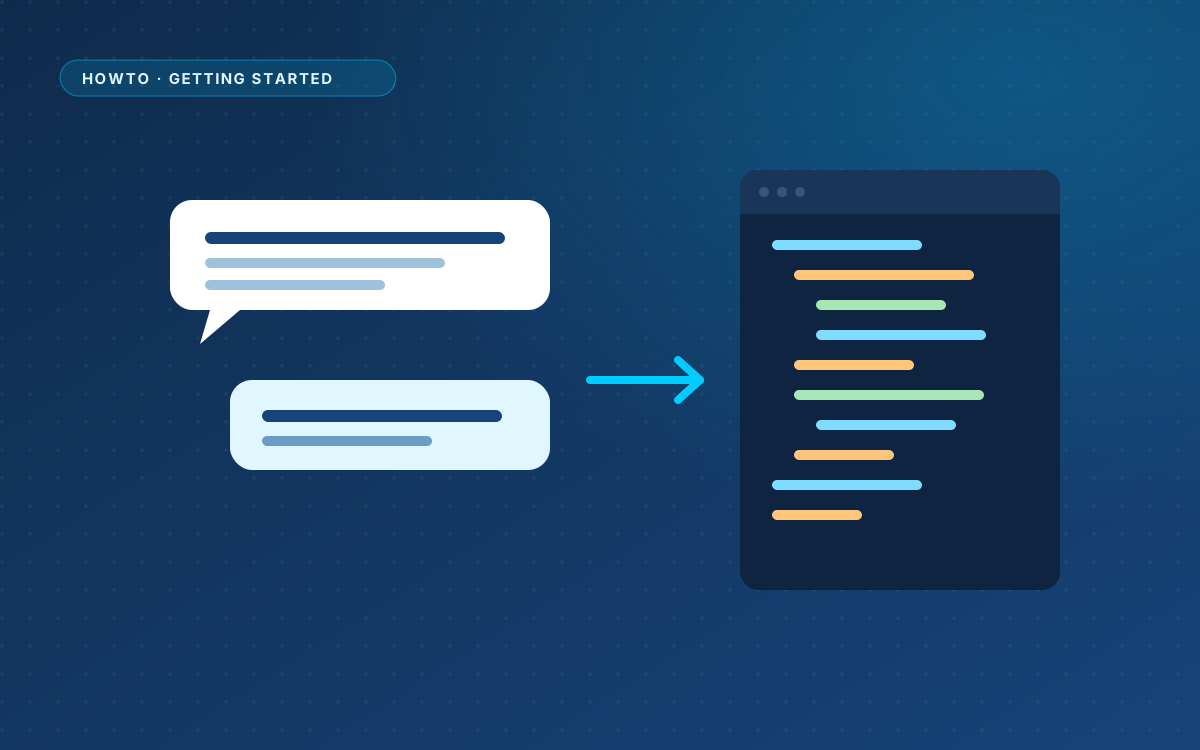
Copy the ready-made prompt, describe your page like a brief, and check that the answer has what WPPasteKit needs.
€ 49 once, for one live website, with a year of updates and support.