Give the blog, posts and 404 page your design
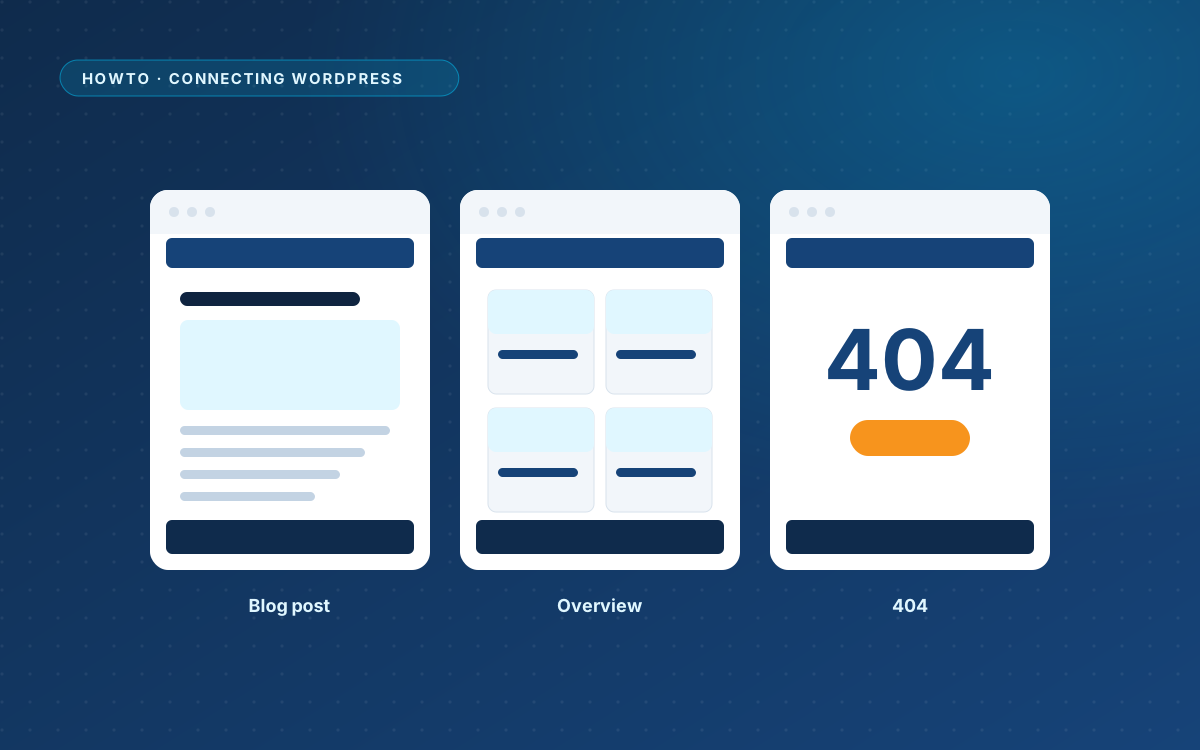
Your pasted pages look like your design. The blog, a single post and the 404 page can look like it too.
1. Turn on Advanced
Blog layouts are built from components. Turn on the Advanced switch in WPPasteKit to see them.
2. Make a component per view
Create a component for each view you want to design. WPPasteKit has an AI prompt for the blog layouts. Because your header, footer and styling are already shared, the layout only needs the content part.
A single post layout uses post tokens where the content goes:
<article class="post">
  <h1>{{post.title}}</h1>
  <p class="post-meta">{{post.date}} · {{post.author}}</p>
  <div class="post-content">{{post.content}}</div>
</article>
A blog overview uses a card grid with data-wp-posts="current", a heading with {{archive.title}} and an element with data-wp-pagination, which is filled with page links or removed when there is only one page.
3. Choose the layouts
Under WPPasteKit > Site details, choose a component per view:
- Blog post for a single post;
- Blog overview, which is also used for categories, tags, authors and search results;
- Normal page for WordPress pages that are not WPPasteKit pages;
- 404 for pages that do not exist.
WPPasteKit then renders that view instead of the theme. Views without a layout keep using the theme.
Tokens you can use
{{post.title}},{{post.url}},{{post.content}},{{post.image}},{{post.date}}and the other field names{{archive.title}}and{{archive.description}}{{search.query}}and{{search.url}}{{posts.pagination}}
Header and footer on these views
The site header and footer appear on the blog, archives, search results and the 404 page when the theme supports it. WPPasteKit Blank does. With another theme, see the guide about keeping your theme.