Install WPPasteKit and fill in your site details
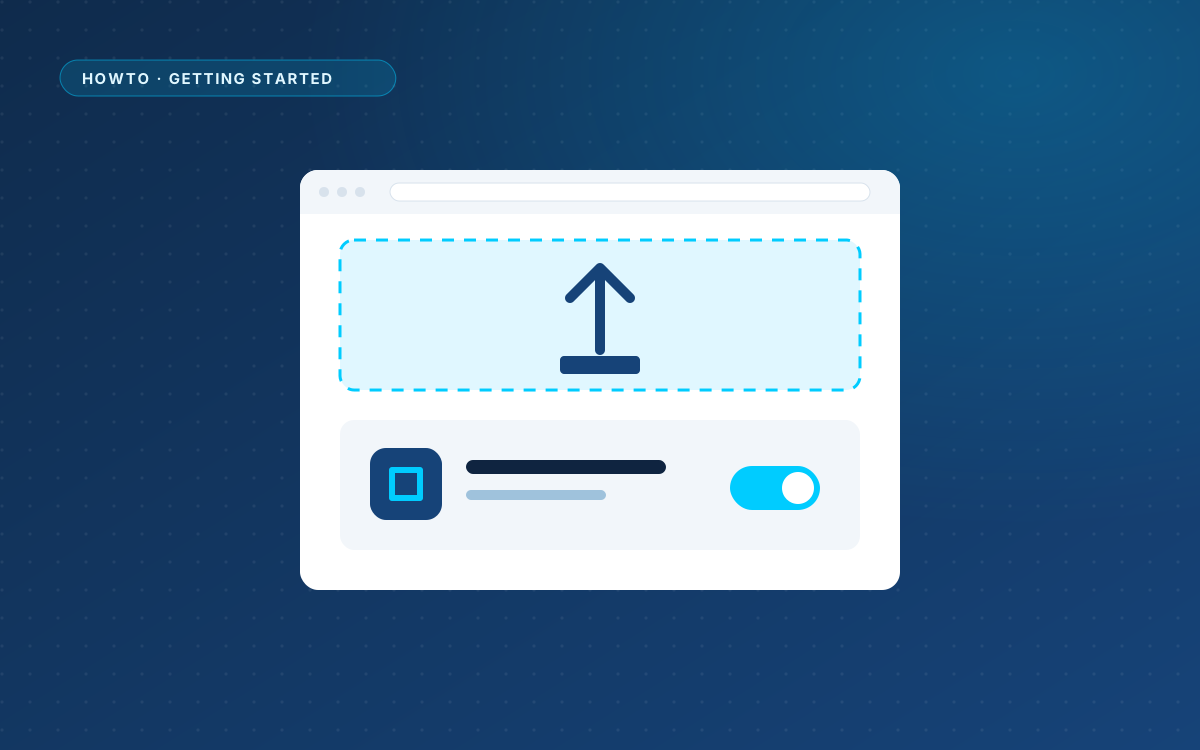
Installing WPPasteKit works like any other WordPress plugin. The only extra step is filling in the details that appear on more than one page.
Install the plugin
- Go to Plugins > Add New > Upload Plugin.
- Choose the WPPasteKit ZIP file and click Install Now.
- Click Activate.
- Open WPPasteKit in the WordPress menu.
Fill in your site details
Under WPPasteKit > Site details you enter the facts that belong to the whole site. WPPasteKit fills them in wherever a design uses the matching variable:
{{site.name}}for the name of the site{{site.email}}for your email address{{site.phone}}for your phone number, and{{site.phone_url}}for tel: links{{site.address}}for your address{{site.logo}}for your logo{{site.url}}and{{current_year}}, which WordPress already knows
Change your phone number here once, and every page shows the new number.
Start your first page
Click New WPPasteKit page, or use + New in the admin bar. A WPPasteKit page lives next to your normal pages. Your other pages and posts keep their normal editor.
The Advanced switch
WPPasteKit shows only the essentials at first. Components, blog layouts, custom variables, ZIP import and the styling screen sit behind one Advanced switch. You do not need them for your first page. Turn the switch on when a guide asks for it.